We’ve been around for a long time. But times have changed. Now, our most powerful, feature-rich online booking experience has had a glow up.
Here’s why you’ll love it:


We’ve been around for a long time. But times have changed. Now, our most powerful, feature-rich online booking experience has had a glow up.
Here’s why you’ll love it:
The new look online booking displays some extra information directly from your Shortcuts system, so it’s important to make sure this is OK for your clients to see.
Employee photos in your appointment book will display in your new online booking so make sure you’re happy with your current photos.
While you’re updating your employee photos you can also update their bio. This will display next to employees for your clients to view.

Great news! There will be zero downtime when we switch you to your new online booking – everything will continue to work perfectly. The look and feel will be simple and neutral and as soon as it’s live you can jump on in to personalise it by tweaking copy, adding images, and choosing your signature brand colour. Here are some things you can do now to get prepared…
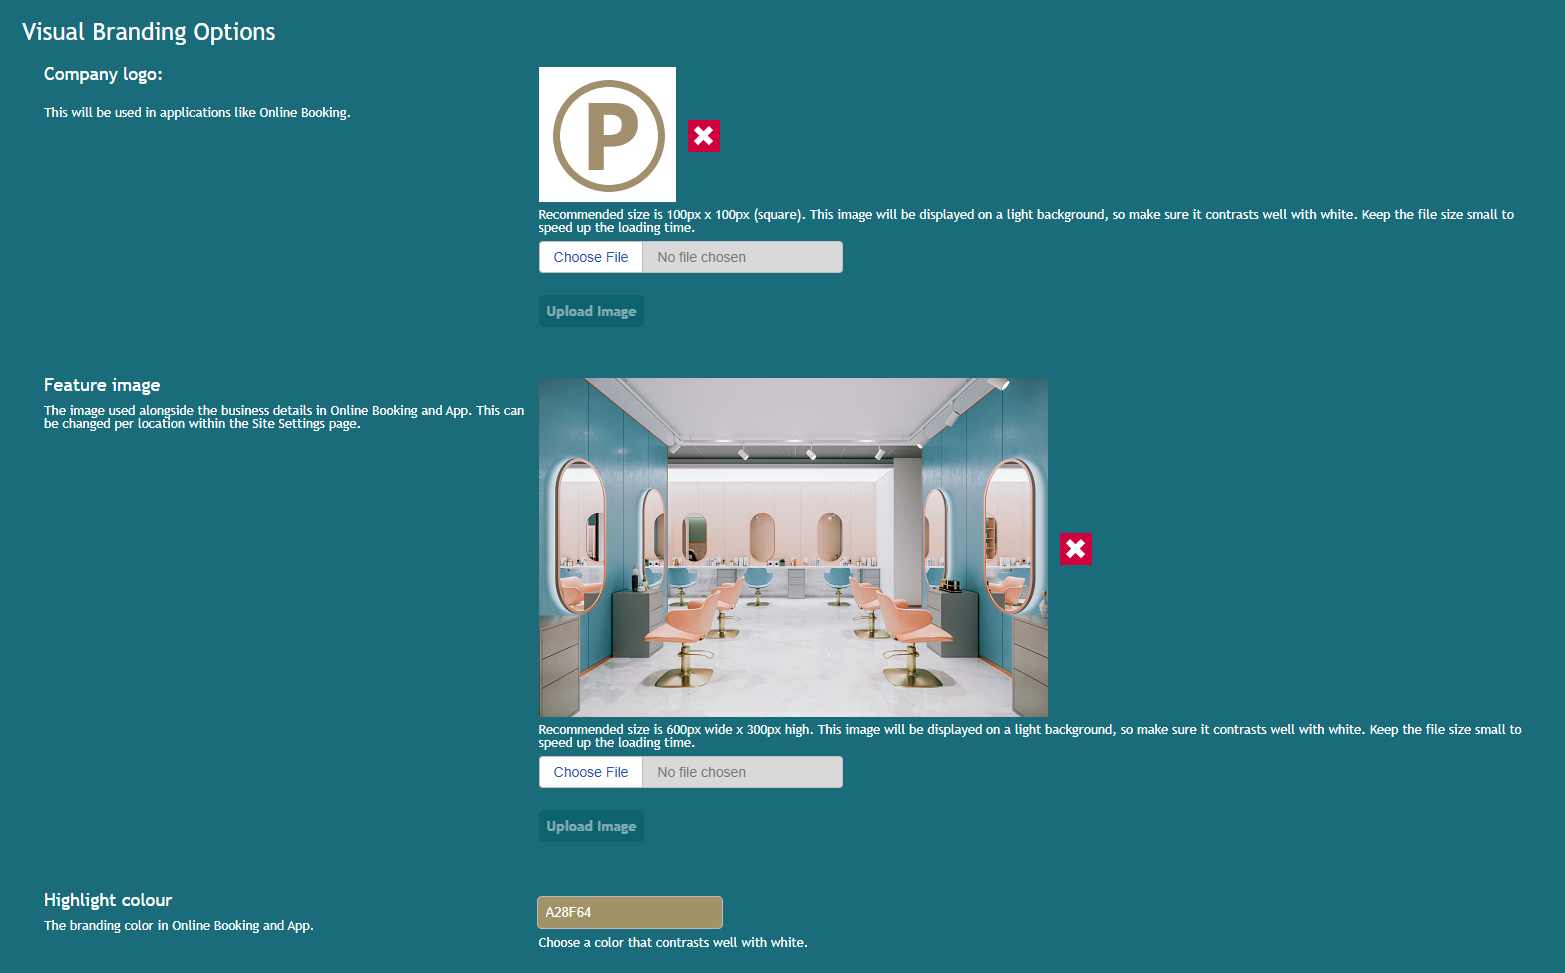
Your logo will look best as a square. It will be displayed against a light background in Online Booking, but make sure it also works against your Mobile Guest App background colour if you use that too.
Tip: Keep all of your image file sizes, including logo, background and feature images, small to speed up the page loading time.
The highlight colour is the primary colour used for headings, buttons, and links. We recommend a mid-range colour that contrasts well with white and black (white text should be legible on your chosen colour). You will need to know what the HEX code is so that you can enter it after you have switched the new system on. If you’re not sure what a HEX colour is don’t worry, you can choose a colour from a colour palette on screen.
The background image will sit behind the main online booking screen in full page mode. The default background is a light grey colour #F5F5F5 which looks great on its own. There is an image library below in our media kit if you’re looking for an easy, but sleek, option.
The feature image is used on the welcome page, near your contact details. We recommend 600px wide x 300px high (or a larger image with the same size ratio). If you want more than 1 image, we recommend using a tool such as Canva to place the graphics side by side, then saving as 1 image. If you have multiple locations, you can have a different feature image for each site.
There are default T&Cs in our system, but you may wish to customise these to better suit your business. If a client checks the terms and conditions while booking online, they will be presented with all relevant terms and conditions depending on the features you use, in this order: Online Booking T&Cs, and Upfront Payment T&Cs.
To update your Terms and Conditions visit Console > company settings > Online Booking Global Page Content > Terms and Conditions Text field.
If you are using the Upfront Payments feature, we recommend you review those terms & conditions in the Console > Online Booking Settings > Upfront Payments settings.
Log in to the Console at https://console.shortcutssoftware.com/ and click on Company Settings.
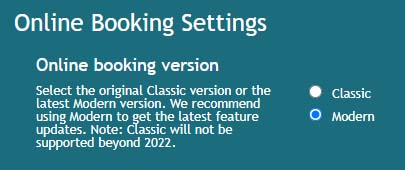
Scroll down to Online Booking Settings, and set the Online booking version to ‘Modern’.
In the background image section, click Choose File > locate the file on your computer > click Upload Image.
In the feature image section, click Choose File > locate the file on your computer > click Upload Image.
Set your highlight colour by typing the HEX code into the Highlight Colour field or choose from the palette. The default colour is #2196F3.
Add any important information text that you want your clients to know each time they book. This will appear at the beginning of each booking. They’re different to the Terms and Conditions, and could be anything from health and safety information, to how you prefer your client’s book with you, staffing changes or promotions.
Click the green Save at the top right of the screen. This will immediately update your website.
Now that more availabilities are display with our improved calendar display, we recommend you change your ‘latest booking allowed’ option in console to 60 or 90 days as a maximum to optimise performance.
Console > Online booking settings > latest booking allowed > Save
If you’re a multi-site location business, and you wish to have unique important information text and/or a feature image per location, please continue below.
At the top of the page on the left, click the blue Start link and then click on the Online Booking Settings tile. If you have multiple locations, do the below steps for each location.
Under Online Booking Settings, scroll down to feature image, click Choose File > locate the file on your computer > click Upload Image.
Scroll down to the Online Booking Global Page Content section. Use the important information text field to customise the text.
Click the green Save at the top right to save all your changes. Your changes will be reflected immediately in your new Online Booking website, unless you use the Classic Booking Widgets or APIs.
Congratulations, your online booking is now live and looking fab!
If you already have online booking button on your website, Facebook or Instagram, the current URL will change to a new URL. This will automatically redirect to your new URL so we’ve done all the work for you! Yay.
If you want to shout it from the rooftops, don’t forget to check out our handy Communication Kit below for ready-to-go email and SMS templates, plus images and social posts you can share.

Join Shortcuts expert, Jonny, in this FREE online classroom as he takes you through:
✅ Set up and configure your new online booking
✅ Make it look and feel like your brand
✅ Set up upfront payments so you can take online booking deposits
✅ Communicate your new online booking with your clients!
Check out the resources below to help you spread the word to your clients about your shiny new online booking system!
Yep, the format for the URL will be slightly different to the old one. All OLD marketing urls (e.g. on the ‘Book now’ button in the Marketing emails) will redirect to the new URL.
The new URL will look like this – https://home.shortcutssoftware.com/createwellness# where “createwellness” is the company domain url as configured in Admin Console.
When displaying ‘Previous employees’, it will only show employees who performed that service within the last 3 years.